

Santa Claus

Dancing in the Dirt

Chili Bingo Night

Highway Cleanup 02-01-2025
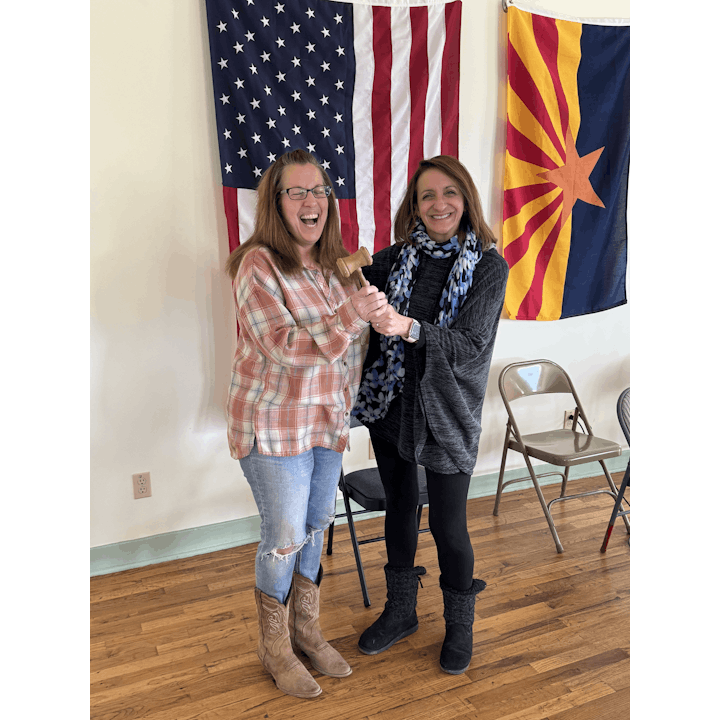
President's Gavel

Santa Claus

Christmas Elf Program

Meat Raffle
2024 Weaver Mountains Festival: Celebrating "Back to School" - August 24, 2024

2024 January Chili Bingo

2023 Fire Auxiliary helping Santa wrap gifts for the Christmas Elf Program.

Weaver Mountains Fall Festival October 28, 2023

Training Lunch from the PVFD Auxiliary on August 19, 2023

Training Lunch from the PVFD Auxiliary on July 15, 2023

Training Lunch from the PVFD Auxiliary on June 16, 2023

April Hoe Down

2022: Photo Gallery

Scavenger Hunt

Hoe Down

Trail Ride
